Graphic Design Notes
Tricks and how-tos I learned from my amateur graphic design experience.
Inkscape
Distribute Objects Along a Path
When you want to distribute multiple objects along a path, make sure to center-align all of them and group them (see below). Select the group and then the path. Next, use the extension:
Extensions -> Generate From Path -> Distribute Along Path (or “Scatter”, in older versions of Inkscape).
Select “If pattern is a group, pick group members”, and the “Sequentially” mode.

Note that you need to adjust parameters like the size of the objects, the shape of the path, etc. to get your desired look. In the demo above, you can see that the resulting spread wasn’t symmetrical and the group of objects is only half-way through the second repeat.
Create Tables in Inkscape?
Although you can use the “Construct Grid” path effect, it’s much easier to make and style the table in any spreadsheet tool like Excel and Google Sheets, export the table in .pdf, and then import the .pdf into Inkscape.
Rounding corners of an object?
Select the object -> Object to Path -> Add Corners LPE -> click and drag to select all desired corners -> drag a corner and see!
IrfanView
Tiled Images
Image -> Create Tiled Images. This is good for printing 4 flyers on one page:

Merge Images
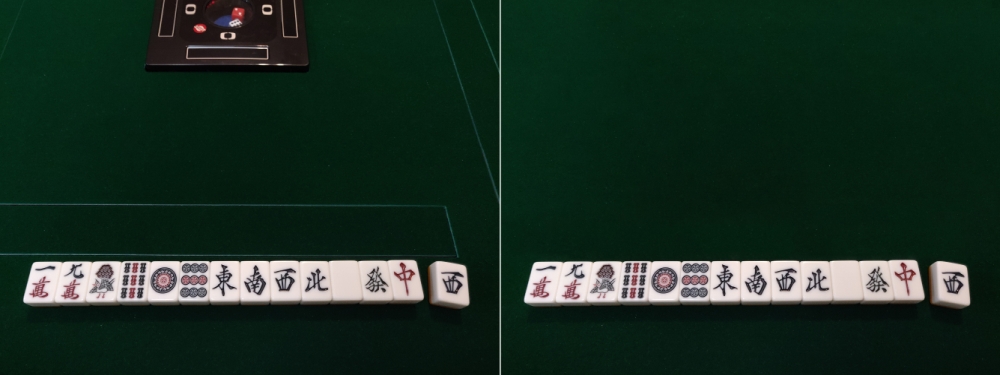
Image -> Merge Images. This is good for showcasing before-and-after, front-and-back, etc.:

GIMP
Healing Tool
This is useful for masking imperfections to ensure a consistent texture. Simply select a contiguous texture that contains no imperfection, paste it over any imperfection, and use healing tool to mask any inconsistencies at the copy-paste border.


